Siding

Hannah’s uncle Andy came to help on July 20th, which was perfect timing because we needed another pair of hands to began the siding process. A big thank you to Andy for helping!  The first order of business was to retrieve the siding from the barn that we had it stored in since last summer (link to post about retrieving the siding). We rented our neighbor’s 21′ trailer for the task (thank you Greg).

Siding arrives at the jobsite

Siding arrives at the jobsite.

Unloading siding

Andy unloading siding.

Andy dipping siding board in trough of stain

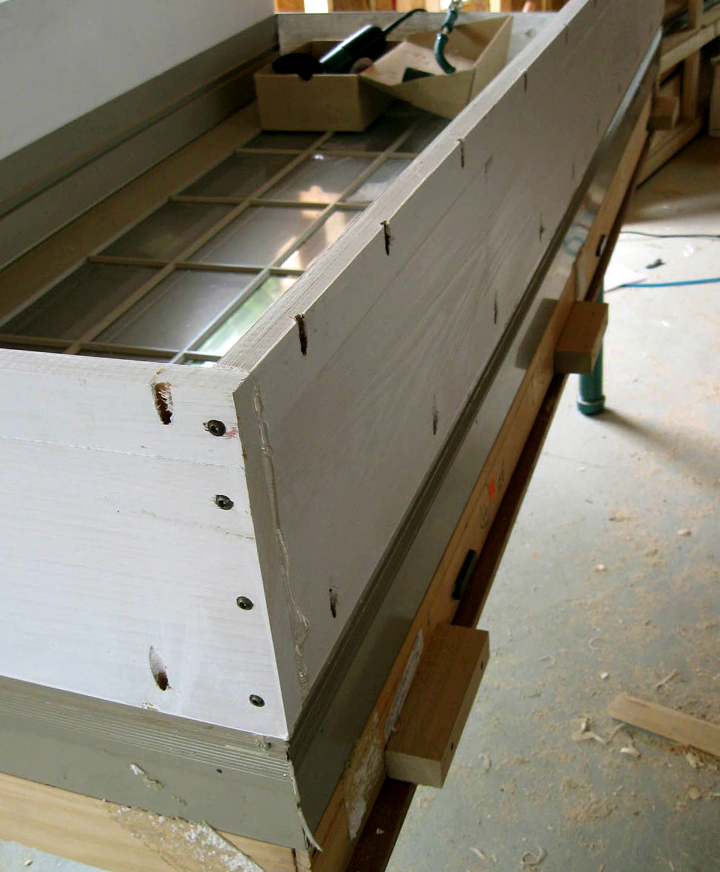
Our first task was to stain the siding with Penofin (a clear stain). Instead of the time-consuming process of brushing on the stain we built a trough to dip the boards in.

Andy dipping red cedar tongue and groove siding board in trough of Penofin stain

Andy dipping siding in trough of Penofin stain.

Wiping off extra stain from the dipped siding with a squee-jee

Wiping off extra stain from the dipped siding with a squee-jee

Andy putting freshly stained siding on drying rack

Andy putting freshly stained siding on drying rack

Freshly stained red cedar siding on our drying rack

Freshly stained red cedar siding on our drying rack

July 21st

First course of siding goes on!

First course of siding goes on!

Adam installing stained tongue and groove red cedar siding

Adam installing siding

Jig for creating the groove on the butt joint of the siding for the spline to go in.

The one weakness in the tongue and groove siding is water infiltration at the butt joint of two boards. With clapboards best practice calls for a scrap piece of tar paper or house wrap* to be installed behind the butt joint. Water that finds its way through the joint encounters a water proof surface that drains it down and out. To solve this issue Adam devised the jig pictured above whereby we would use a router to put a groove on the edge of each board that forms the butt joint. After the two boards are installed we would push in a spline. This sounds time consuming, but the jig made it a snap.                                                                                                                              *Don’t use house wrap in conjunction with cedar, the tannins in cedar ruin the house wrap.

Spartan inserting a spline in the butt joint of the siding

Spartan inserting a spline in the butt joint of the siding

Spline inserted at the butt joint of two tongue and groove red cedar siding boards

Spline inserted at the butt joint of two siding boards

First window trim installed

First window trim installed. We are using stainless steel finish head screws for the task.

July 22nd

Progress with siding the north side of the house

Veronica returns to help with siding.

Tongue and groove red cedar siding clear stained on house

The siding is stunning, especially when the sunset hits it. We have been getting compliments from everyone who walks. There are also a lot of cars that drive by very slowly with passengers craning their necks.

Satellite imagery

Google updated its satellite imagery for Greenfield. The image shows our construction site from late August 2010 when we were working on the foundation. The four sides of the stem wall align perfectly with the four sides of the image rectangle; meaning the house is perfectly aligned with solar south!

First blower door test

We did our first blower door test on July 18th. A blower door test is a way of measuring how air-tight (or air-leaky) a house is. Basically, you close up the house as tight as you can except for one door. In the door you put a specialized fan that has an airtight shield around it. Hooked up to the fan is are sensors and a computer that, when the fan tries to pull air out of the house, tell you how leaky the house is.

The standard amount of depressurization that is used is 50 pascals (1 pascal is approximately 0.000145 pounds per square inch). At this amount of pressure the fan was able to pull about 137 cfm (cubic feet of air per minute) out of the house. Correct me if I am wrong, another way of putting this is that after one hour of the fan blowing at this pressure, 2/3 of the air in the house would be replaced by new air. This 2/3 number is actually .68 and is called air changes per hour (ACH).

What does this all mean? It means our house is really air tight. So air tight in fact, that out of hundreds of the homes my friend Matt has tested (including new construction), ours is already the most air tight he has ever tested. I say already because not only do I still need to plug up some electrical penetrations and so forth, but we don’t even have insulation or drywall up yet–which will do a lot to prevent air leakage. What is most exciting for me is that we will probably exceed the German Passive Haus standard for air tightness: .61 ACH.

The blower door test setup.

The blower door test setup.

Matt using the fog machine during the blower door test

The blower door test is nice, but actually finding the leaks is better. To do this we flip the fan around so that it blows air into the house. Using a fog machine to make the leaking air visible on the exterior of the house allows you to find where the leaks are. Here, Matt blows fog at a window, a common location for leaks.

Finding where fog is escaping from the house during a blower door test

It was actually fairly difficult to locate where the fog was coming out. Perhaps we needed a more powerful fog machine. I tried using a line laser to see the fog, but it didn't help at all. Later in the evening, I remembered from reading Theodore Gray's graphic book on elements, that gases do not reflect light, they only inhibit its passage. Therefore, shining a handheld laser away from where one is standing would never work. One would have to shine it at one's eyes, which, of course, is dangerous. I then asked Matt's partner Sarah, to shine a flashlight towards me. Sure enough, it did a great job illuminating the fog. If one does see a "gas" reflecting light back at you, like when you are driving through fog, technically you are seeing a vapor or mist.

Thank you to Matt and Sarah for coming up to help with the blower door test.

Exterior doors

Adam has done fantastic job installing our 3 exterior doors. The job was one of the more complicated ones that we have done. Doors need to be airtight, hang true and plumb, and also be properly flashed to protect them from water.

Installing door jamb extensions

Our exterior door extension jambs put the door flush with the inside of the house so the door can open all the way in. This is the opposite of our window extension jambs, where the windows sit flush with the outside. A quirky way of differentiating this concept is doors are “innie” and windows are “outtie”.

Extension jambs for thick double stud wall use kreg screws

The extension jambs were attached to the aluminum clad door with Kreg screws and water proof glue. There is a second set of screws attaching a strip of wood near the outter edge because the piece of cypress that we used wasn’t wide.

Cutting granite stone threshold - dusty

In addition to extending the jambs of the door we also needed to extend the threshold. We did this using some of our granite counter top scrap. It is amazing what you can cut with a diamond blade on a circular saw. This is easily one of the loudest jobs we have done.

Cutting stone threshold less dust

The stone dust is quite toxic, so we eventually worked out a way to capture most of it with Adam’s Festool shop vac.

Cutting stone threshold close up less dust

The shop vac sucked the dust right up

truck load of granite counter scrap

We needed another large piece of granite for our third stone threshold so we made our second trip to the granite counter top manufacturer to get more scrap.

Exterior door sill pan and flashing detail 1

We used flex wrap tape for the stone threshold sill pan (the white area). Behind it is 1.5″ rigid foam insulation that the door will sit on. The foam will eliminate the thermal thermal break under the door. The copper flashing tape provides an impervious surface protecting the parged 2″ of foam that is on the exterior of the foundation.

Exterior door sill pan and flashing detail 2

We used copper for the door sill pan. The stone thresholds look really sharp.

drip edge on stone threshold

Another detail to protect the doors from water. The saw kerf on the underside of the stone threshold is called a drip edge. Water clings to surfaces and can move horizontally along them, however it can’t move vertically (unless you consider capillary action).

Creating a flange for extension jamb by back-flashing with tape

Ordinarily doors and windows have flanges on them that seal them to the sheathing. Since we made our own extension jambs we also needed to make our own flange using a technique called back flashing. One uses two pieces of flashing taped together with about 1″ of overlap. The tape, which now resembles double sided tape, can now stick to both the jamb and the sheathing.

South door

Hannah (with dinner) admiring our southern glass door. I had to put blue tape over the handle and lock set holes because bees immediately started to nest in them.

Installing a door lock

Installing a door lock

simpson bungalow solid fir door with brass thumb latch

Our completed porch door entrance. This is the one that will see most of the foot traffic.

Artistic entry way door under construction

I suspect our Vernon St. door way is going to be in a home magazine some day.

interior of vernon st door

Interior of Vernon St. door.

Soffit complete

Hannah and I went away during the last week of June and we returned to a complete soffit. Adam did a fantastic job putting on the soffit boards that John and I stained.

Tongue and groove soffit boards installed

You may not be able to tell from the picture, but the stained soffit boards are slightly lighter in color than than the painted fascia boards. This was done to compensate for the fact they will always be in shadow.

Veronica using sliding mitre saw

Veronica helped Adam out with installing the soffit. She quickly got the hang of the sliding compound mitre saw.